I ripped the carpet off my stairs today! The carpet was there when I moved in; it was really old and worn out, and always dirty-looking because of its light beige colour. So I decided to refinish the stairs – by myself. I watched a how-to video on youtube of someone refinishing their stairs and it looked like a pretty straightforward DIY job, in theory. I didn’t think it would be easy, but just getting the carpet off was way harder than I thought! Mainly because I think whoever installed it enjoyed using their staple gun a little too much. It was really tough pulling the carpet off the stairs, but what took the most time was prying the staples off the steps that were holding the underlay down.
I found out that the stairs have a layer of laminate on them, both on the steps and the risers, so I’m going to have to pry that off next before I can start sanding. I’m not convinced the wood is in very good shape – the nose part of each stair is very worn in the center and is full of large nail holes, dents and other damage. I’m not looking forward to seeing what’s under the laminate. But once I get that pulled up, then I can start sanding! After that, painting (brown treads, white risers).
My dad would be so proud. :)
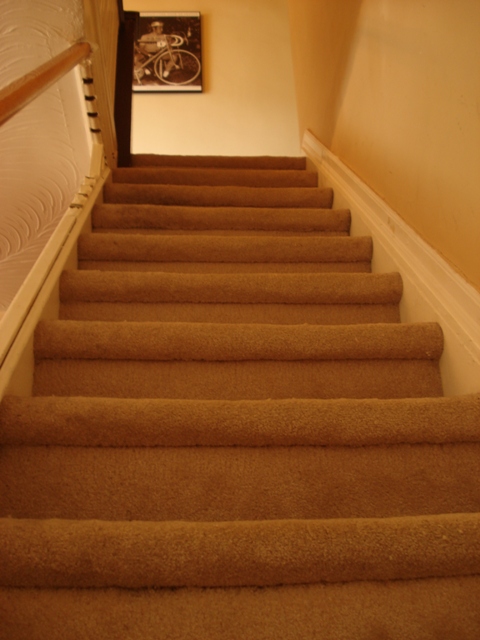
The "before" picture - the stairs with carpet
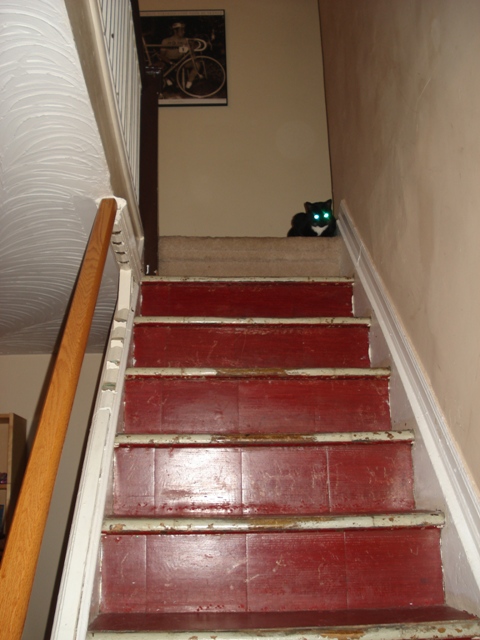
The so-far "after" picture - stairs without carpet, but still with a reddish-brown laminate on them.
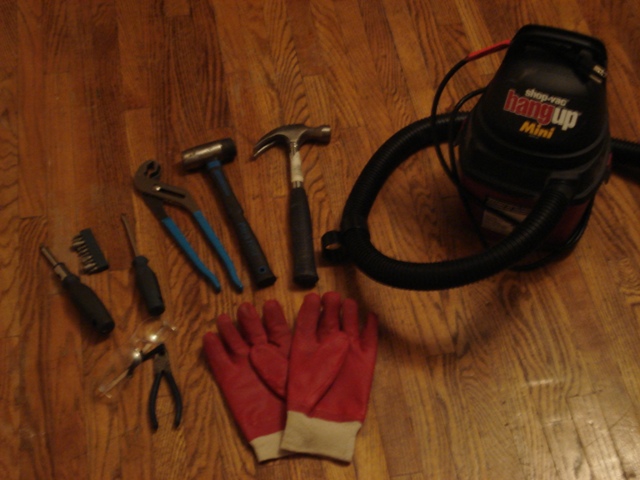
How handy is it living with a bike mechanic who has a workshop full of tools? This handy.
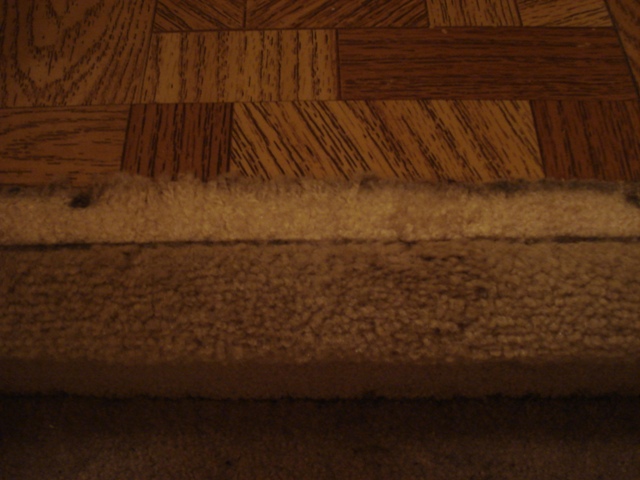
The top part of the carpet is how it must have looked new - this was under that metal strip that blends the end of the carpet to the floor.
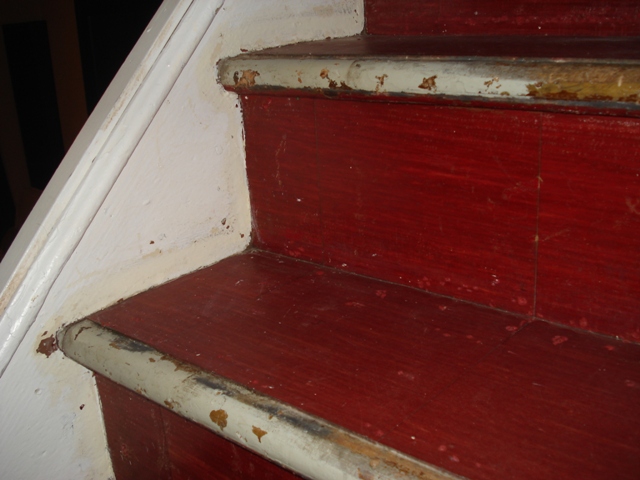
Next step is to take off this laminate. It looks like the stairs were painted grey before the carpet was installed.
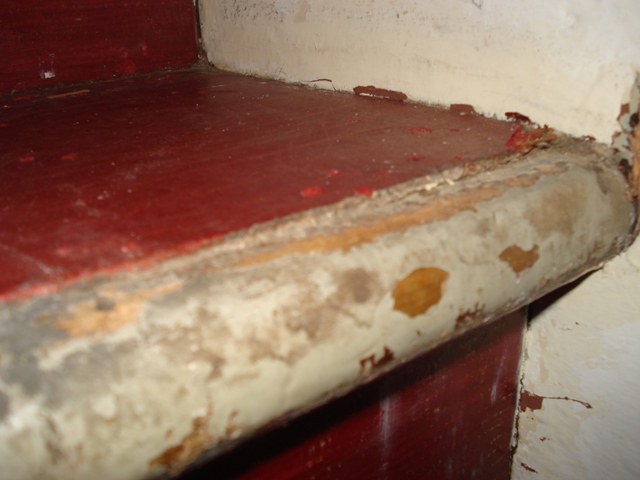
A close-up of the damaged nose

Bryson is inspecting my work. (Also see how much the stairs are worn down the middle)